Audio Plugins
Part 1/3: Learning about CLAP
What does it take to build an audio plugin?
Contents
An Introduction
What is an Audio Plugin?
An audio plugin is a piece of software (most often a virtual instrument or effect) that integrates into a Digital Audio Workstation(DAW) such as Reaper or Ableton Live. There are quite a few different audio plugin formats - the most popular ones being:
- VST3 - Steinberg’s closed-source solution turned open-source
- AUv3 - The iOS standard
- AAX - Avid/ProTools’ solution
- Standalone - As the name would imply, these types of plugins don’t require any host DAW. They can be launched and immediately tinkered with(think NotePad).
Many developers release their audio plugins under multiple formats - often by using licensed tools like JUCE.
Choosing a Format
Each format has their pros and cons. After starting and abandoning VST3 due to Linux pains and LV2 due to GUI issues in Reaper, I’m ready to try CLAP. my fingers are crossed.
Why Choose CLAP?
What Does an Audio Plugin Look Like?
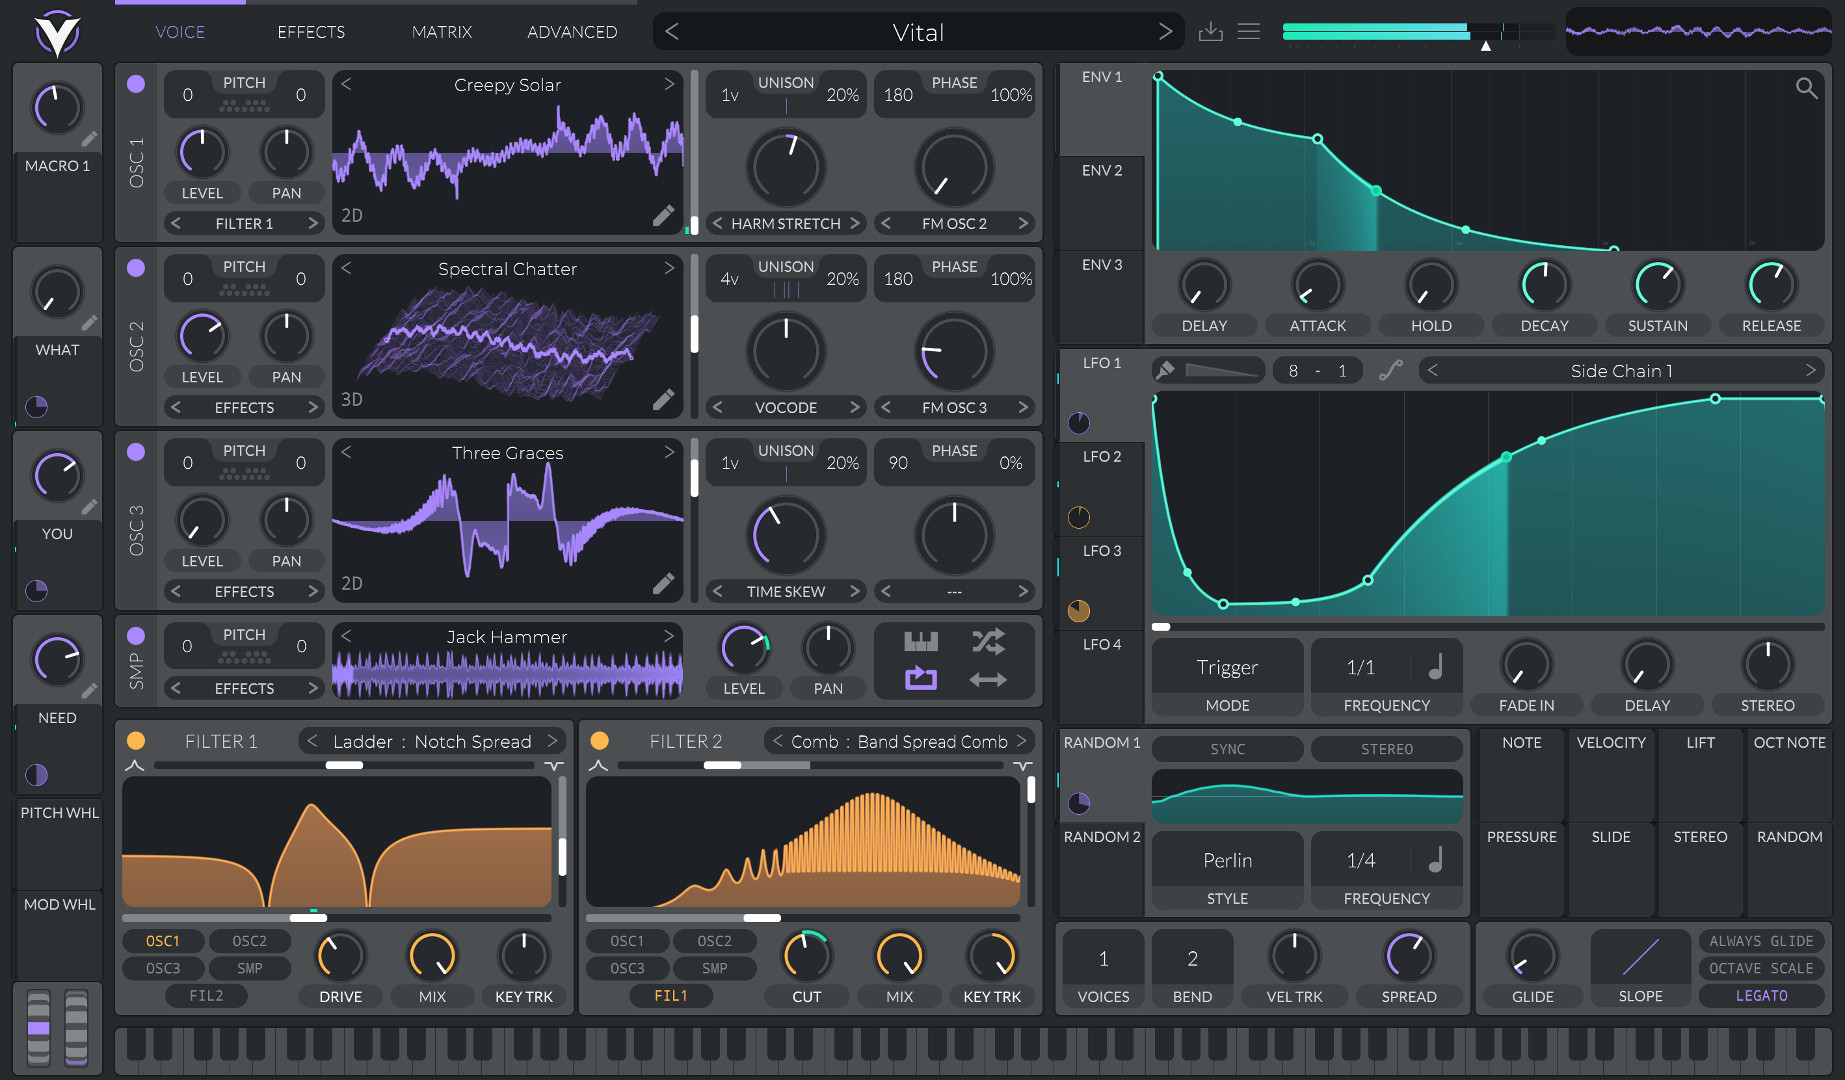
There are thousands upon thousands of plugins out there - ranging from minimalist retro synths and complex rhythm sequencers to Karplus-Strong string modelers and destructive bit-crushers. Here are some of my favorites:
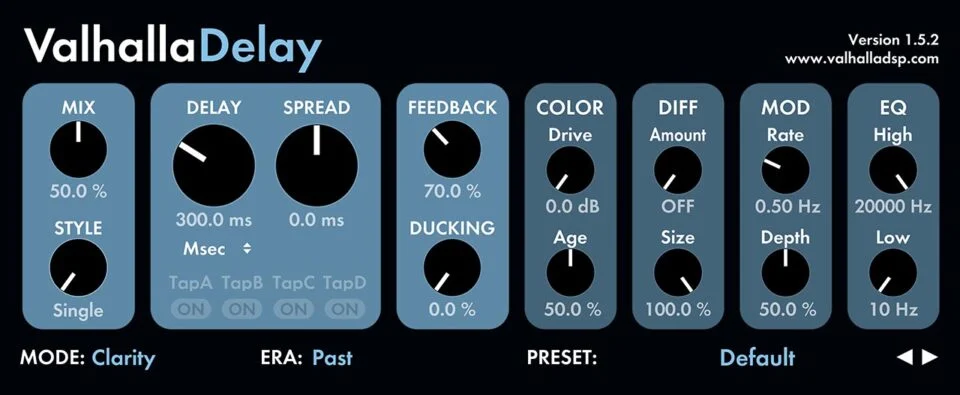
 Valhalla Freq Echo
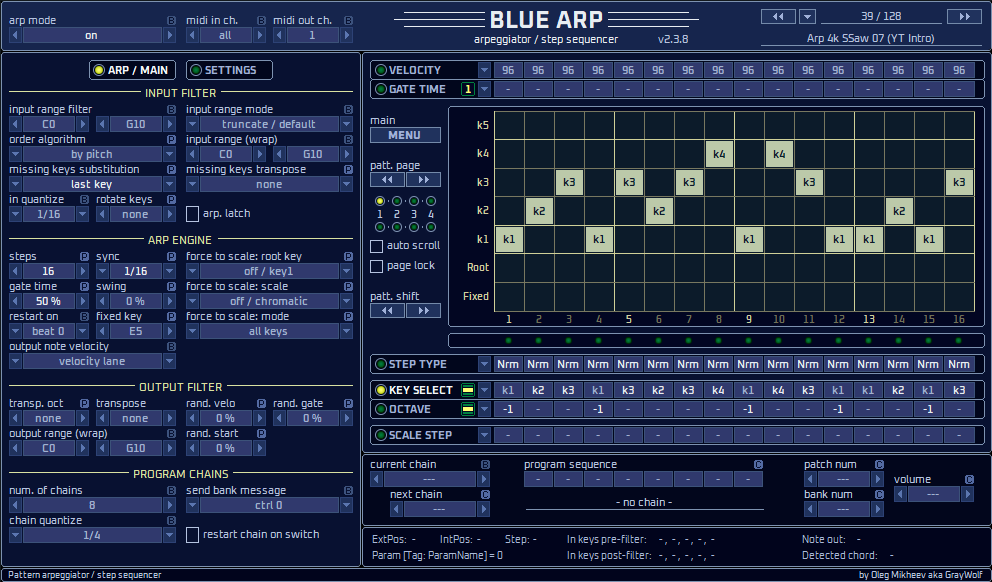
BlueARP Arpeggiator
Valhalla Freq Echo
BlueARP Arpeggiator
It should be noted that although flashy UIs are fun and often very useful, they’re not necessary. Take a look at Reaper’s built-in synth - ReaSynth:
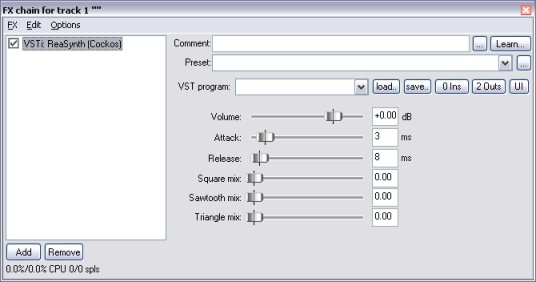
FX plugins are also often very sparse.
Setting up an Environment for CLAP
CLAP isn’t widely supported yet. However, BitWig - a DAW that’s been gaining a lot of steam recently - supports it. My current DAW of choice - Reaper may be supporting it before long supports it on the dev branch, as of less than a month ago. I’ll be using Reaper v6.68+dev1004 (October 4).
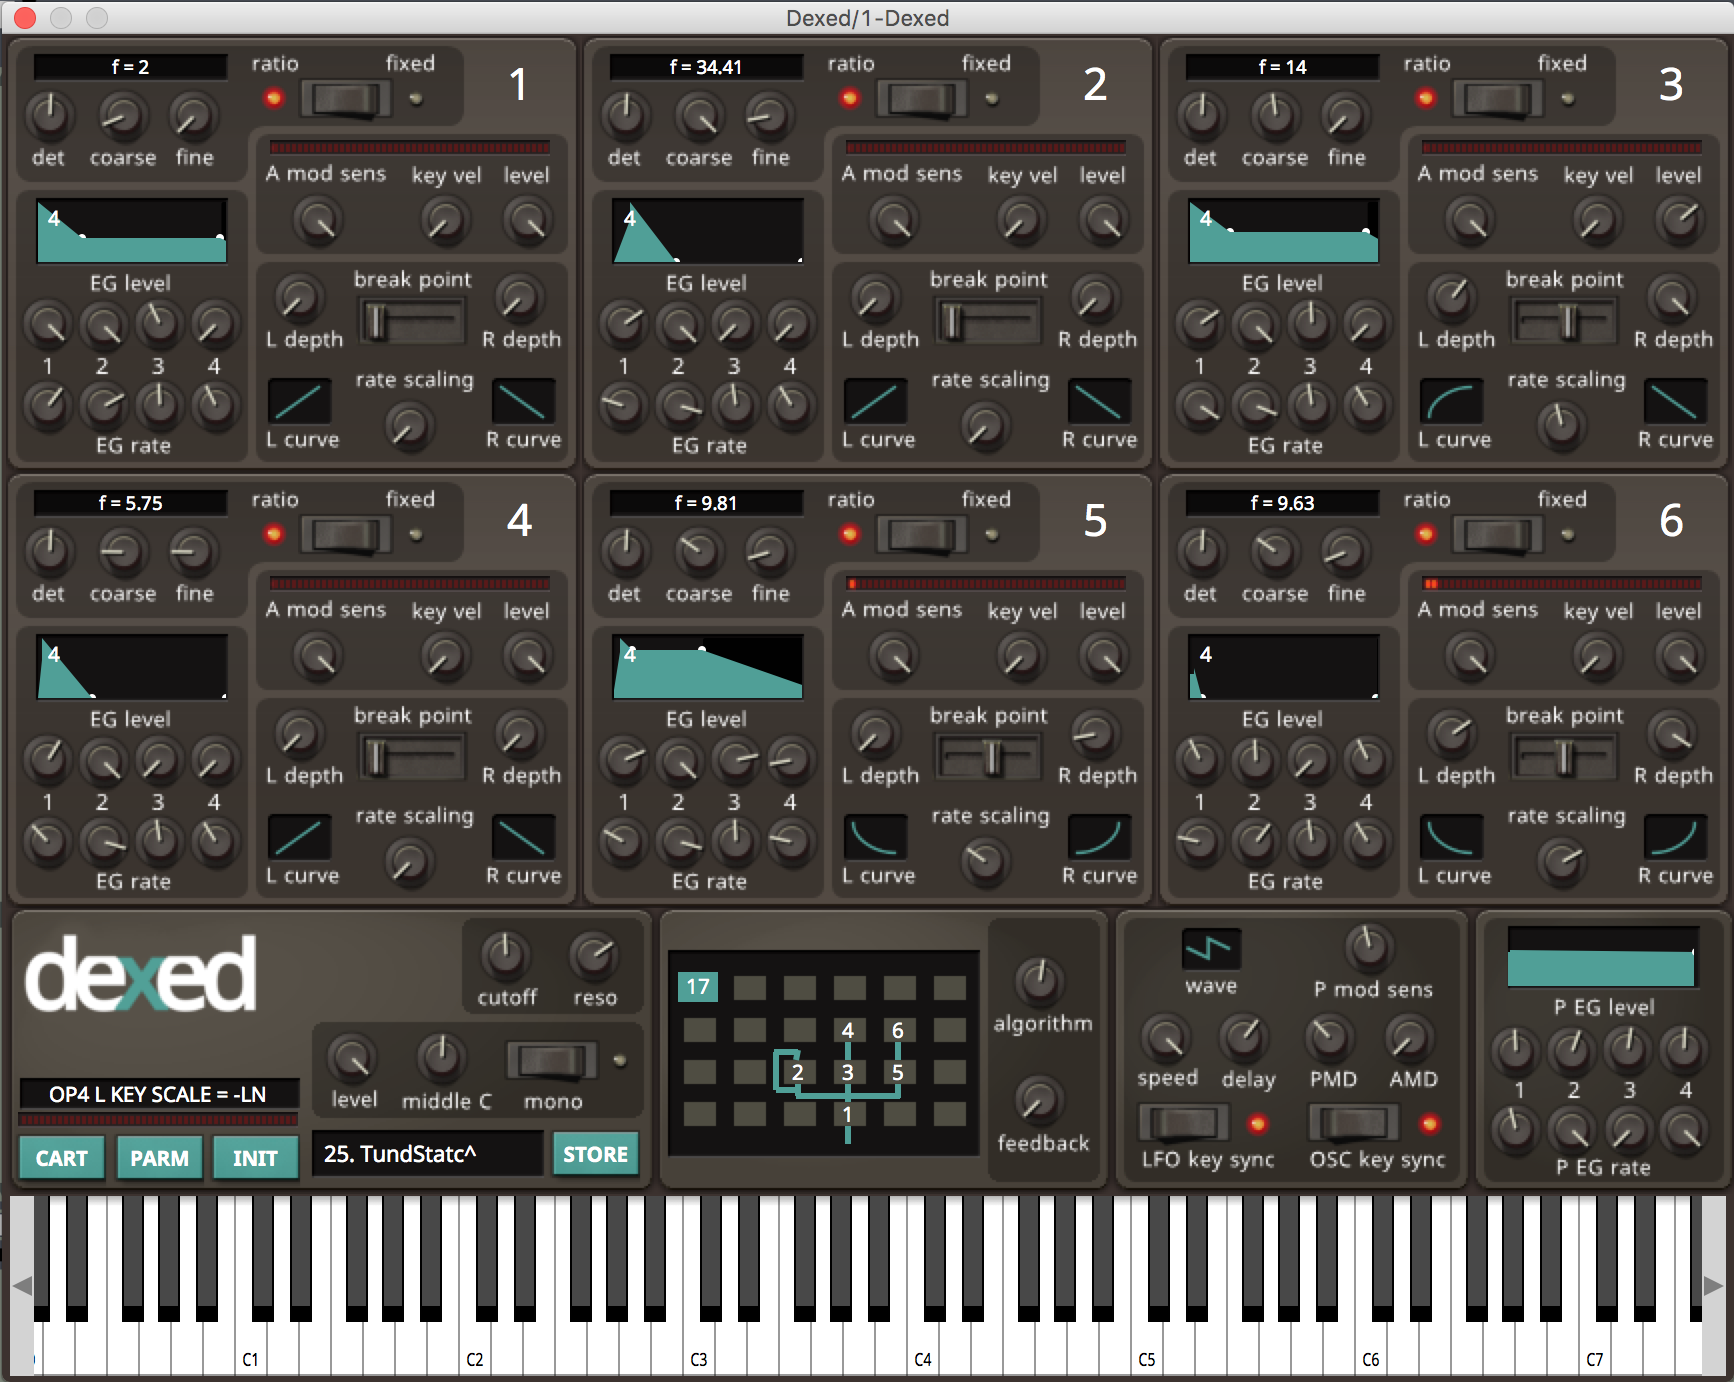
Just to make sure everything was set up correctly, I installed dexed from source and tested it in Reaper.
Learning to Create CLAP Plugins
Where to Start?
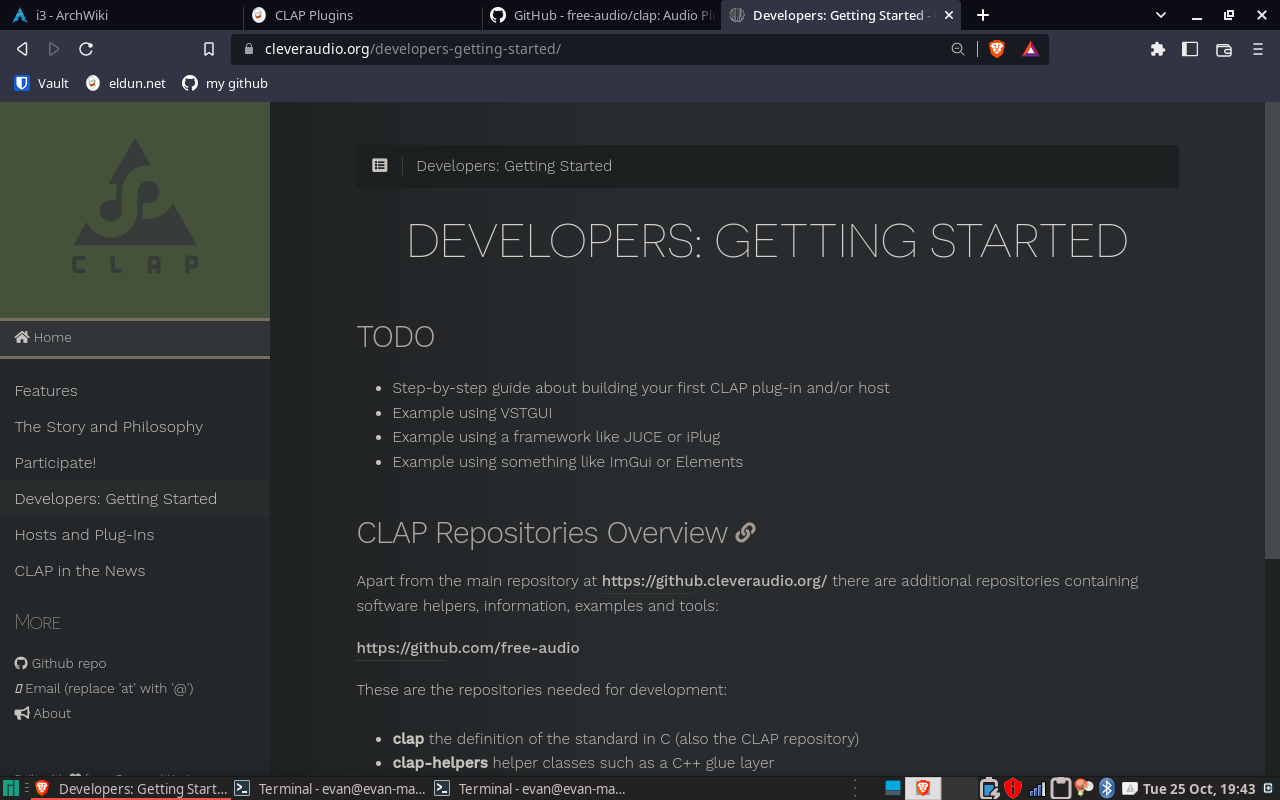
I don’t know much about creating plugins, and unfortunately, at the time of this post, it looks like the “Getting Started” page has a ways to go.
The way forward is through example and this youtube playlist(Developing with CLAP - Jürgen Moßgraber).
Actually, I watched the videos and they don’t help that much. Let’s move on.
Building Example Plugins
This repo is full of juicy info on CLAP plugins.
The repo has a lengthy note about GUIs, builds and symbols:
The plugins use Qt for the GUI.
It is fine to dynamically link to Qt for a host, but it is very dangerous for a plugin.
Also one very important aspect of the plugin is the distribution. Ideally a clap plugin should be self contained: it should not rely upon symbols from the host, and it should export only one symbol: clap_entry.
You should be aware that even if you hide all your symbols some may still remain visible at unexpected places. Objective-C seems to register every classes including those coming from plugins in a flat namespace. Which means that if two plugins define two different Objective-C classes but with the same, they will clash which will result in undeflined behavior.
Qt uses a few Objective-C classes on macOS. So it is crucial to use QT_NAMESPACE.
We have two different strategies to work with that.
local: statically link every thing remote: start the gui in a child process
- has the advantage of being simple to deploy. 2. is more complex due to its inter-process nature. It has a few advantages:
if the GUI crash, the audio engine does not the GUI can use any libraries, won’t be subject to symbol or library clash etc… We abstracted the relation between the plugin and the GUI: AbstractGui and AbstractGuiListener which lets us transparently insert proxies to support the remote model.
The GUI itself work with proxy objects to the parameters, transport info, … They are then bound into QML objects. See Knob.qml and parameter-proxy.hh.
We offer two options:
static build, cmake preset: ninja-vcpkg or vs-vcpkg on Windows. dynamic builg, cmake preset: ninja-system Static builds are convenient for deployment as they are self containded. They use the local gui model.
Dynamic builds will get your started quickly if your system provides Qt6, and you have an host that do not expose the Qt symbols. Static builds will require more time and space.
(Difference between build methods)
Build instructions for different platforms can be found here.
The plugins will be installed to usr/local/lib. From there, you can try them out in your preferred plugin host.
A Simpler Example
There’s a lot going on in the last section. A minimal example (linked to from the official CLAP repository) can be found here. I highly reccommend reading through the repo’s README.
Excluding reference and image files, these are the contents of the repo:
./
|-- build/
|   |-- lin/
|   |-- mac/
|   `-- win/
`-- src/
    |-- clap/
    |-- glfw/
    |-- gui.cpp
    |-- imgui/
    |-- imgui_base.cpp
    |-- imgui_lin.cpp
    |-- imgui_mac.mm
    |-- imgui_win.cpp
    |-- main.cpp
    |-- main.h
    |-- plugin.cpp
    |-- plugin_impl_0.cpp
    `-- plugin_impl_1.cpp
To build these examples, all we have to do(on Linux) is navigate to build/lin and execute the makefile there with make.

The resulting .clap file should show up right next to the makefile. If you’d like to try these plugins out, you can add our current directory to your host’s CLAP path or copy the generated CLAP file to usr/local/lib - the default path for CLAP plugins.
Understanding the Examples
The main File
You can see in main.h that the only #include is clap.h, which allows us to work with CLAP. This is also where our customized plugin struct is defined (With members clap_plugin, clap_plugin_params, and clap_plugin_gui from the included clap.h. If you would like to know more about these ‘extensions’ (params & gui), check out the well-documented source code files.
The plugin File
We don’t really have to worry about this file - it’s where our plugins are constructed and passthroughs are located. Genericized plugin, GUI, and param calls are also set up here.
The plugin_impl Files
These are our actual plugins! Here is where we describe our plugins and their parameters, as well as how they behave, and what they look like (at least in this example).
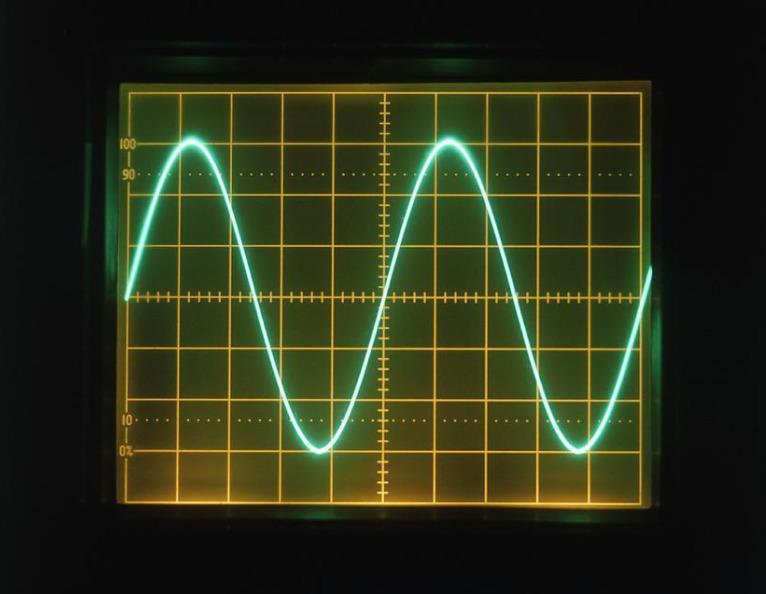
Let’s take a look at the tone generator plugin once more:
You can see how the turning of knobs is continually processed in the process functions. Things are kicked off with this one:
template <class T>
  clap_process_status \_plugin\_impl__process(const clap_process *process,
    int num_channels, int start_frame, int end_frame,
    double *start_param_values, double *end_param_values,
    T **out)
  {
    if (!out) return CLAP_PROCESS_ERROR;

    double start_vol = start_param_values[PARAM_VOLUME];
    double end_vol = end_param_values[PARAM_VOLUME];
    double d_vol = (end_vol-start_vol) / (double)(end_frame-start_frame);

    double start_pitch = start_param_values[PARAM_PITCH];
    double end_pitch = end_param_values[PARAM_PITCH];
    double start_phase=m_phase, d_phase=0.0;
    if (end_pitch >= 0.0)
    {
      if (start_pitch < 0.0) start_phase=0.0;
      else start_pitch += start_param_values[PARAM_DETUNE]*0.01;
      end_pitch += end_param_values[PARAM_DETUNE]*0.01;
      double freq = 440.0 * pow(2.0, (end_pitch-57.0)/12.0);
      d_phase = 2.0 * _PI * freq / (double)m_srate;
    }

    for (int c=0; c < num_channels; ++c)
    {
      T *cout=out[c];
      if (!cout) return CLAP_PROCESS_ERROR;

      if (d_phase > 0.0)
      {
        double vol = start_vol;
        double phase = start_phase;
        for (int i=start_frame; i < end_frame; ++i)
        {
          cout[i] = sin(phase)*vol;
          phase += d_phase;
          vol += d_vol;
        }
      }
      else
      {
        memset(cout+start_frame, 0, (end_frame-start_frame)*sizeof(T));
      }
    }

    m_phase += (double)(end_frame-start_frame)*d_phase;

    return CLAP_PROCESS_CONTINUE;
  }
And they continue being kicked off with this one:
clap_process_status plugin_impl__process(const clap_process *process)
  {
    double cur_param_values[NUM_PARAMS];
    for (int i=0; i < NUM_PARAMS; ++i)
    {
      cur_param_values[i]=m_param_values[i];
    }

    clap_process_status s = -1;
    if (process && process->audio_inputs_count == 0 &&
      process->audio_outputs_count == 1 && process->audio_outputs[0].channel_count == 2)
    {
      // handling incoming parameter changes and slicing the process call
      // on the time axis would happen here.

      if (process->audio_outputs[0].data32)
      {
        s = _plugin_impl__process(process, 2, 0, process->frames_count,
          m_last_param_values, cur_param_values,
          process->audio_outputs[0].data32);
      }
      else if (process->audio_outputs[0].data64)
      {
        s = _plugin_impl__process(process, 2, 0, process->frames_count,
          m_last_param_values, cur_param_values,
          process->audio_outputs[0].data64);
      }
    }

    for (int i=0; i < NUM_PARAMS; ++i)
    {
      m_last_param_values[i]=m_param_values[i];
    }

    if (s < 0) s = CLAP_PROCESS_ERROR;
    return s;
  }
The other important classes are all the ImGui ones, like draw().
The \*gui\* Files
These files are where our Plugin struct member actually interfaces with OpenGL through Dear Imgui and GLFW
The GUI
The developer of these simpler plugins - schwaaa - explains why he’s using Dear Imgui:
The UI for this example is presented via Dear ImGui. The ImGui concept is easy to misunderstand so please read the Dear ImGui README. The key concept is that the caller (this plugin) does not retain any state related to the UI. This allows developers to quickly prototype controls.
100% of the plugin’s UI code is in
plugin_impl__draw(), a single small function. For example, this is the code for the volume slider, which draws the control, handles mouse and keyboard input, and links the control to the voldb variable:
ImGui::SliderFloat("Volume", &voldb, -60.0f, 12.0f, "%+.1f dB", 1.0f);You have some control over the appearance and placement of the control, but the primary design goal is simplicity and ease of programmer use. ImGui is not typically used for end-user UI.
ImGui is helpful for this example because:
- Permissively licensed
- No external dependencies
- Very easy to interact with
The Makefile
You may have noticed that a single .clap file contains two plugins. You can step through the makefile to see how this happens(and here’s a makefile refresher, if you’re in need), and how we end up with our plugins from dozens of source files. The most important line is where the actual compilation takes place (line 57).
Closing Thoughts
Creating audio plugins from scratch turned out to be a bit more convoluted than I expected. I was especially hoping for more in the way of documentation. The next post in this series will be focused on creating our own arpeggiator, and the following on creating a sampler.